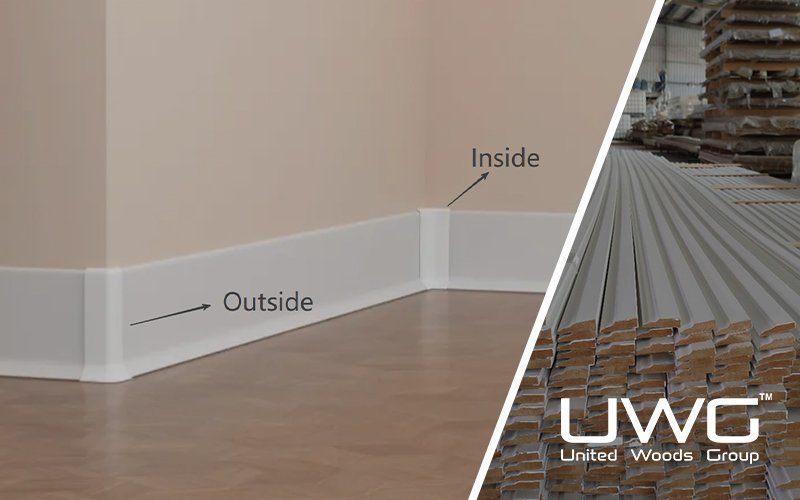
Imagine you’re walking through a jobsite where drywall is up, painting is scheduled, and finishing carpentry is the final step before turnover. The corners of every room—hallways, kitchens, stairwells, and trims—need clean, durable finishing. At this stage, choosing the right corner moulding becomes more than a detail; it directly affects the project’s durability, appearance, and rework rate.
What Are Corner Mouldings and Why Are They Important?
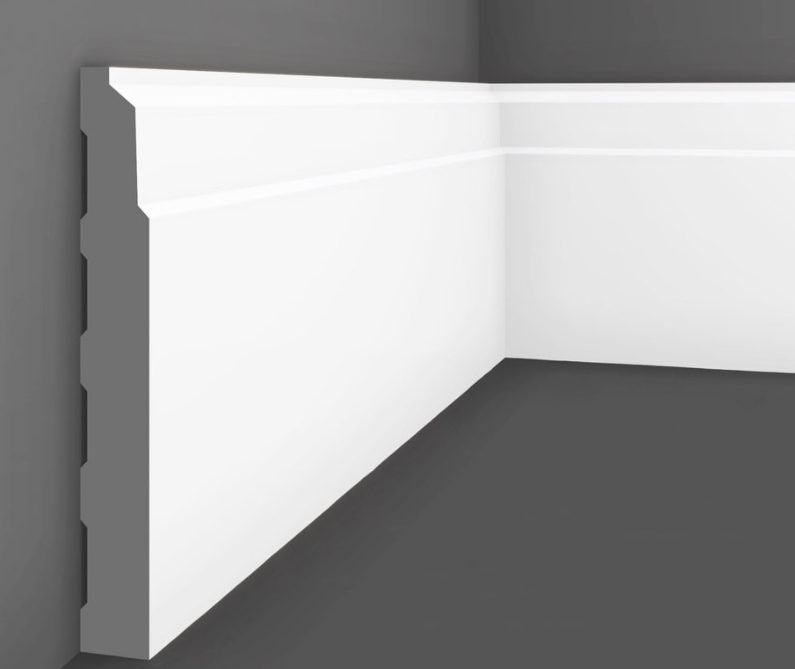
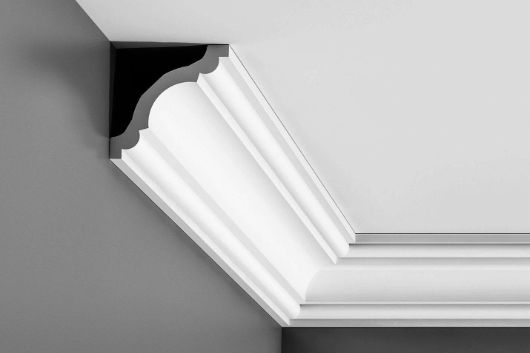
Corner mouldings are trim components designed to finish, reinforce, and visually enhance the intersections where surfaces meet. In residential and commercial construction, they help solve three common site challenges: exposed edges, inconsistent drywall work, and movement between adjoining surfaces.
For builders, mouldings are not just aesthetic pieces—they are functional elements that contribute to long-term durability. They prevent chipping on high-traffic outside corners, hide interior wall imperfections, and allow for expansion or slight misalignment between drywall, wood panels, or cabinetry.
Common materials include MDF, hardwood, PVC, polystyrene, and metal for commercial environments. MDF and wood offer smooth paint finishes; PVC and composite alternatives provide moisture resistance; metal is chosen for high-impact areas.
Understanding these fundamental roles makes the selection of inside and outside corner mouldings more intentional and ensures the finish work meets both structural and aesthetic expectations.
Outside Corner Moulding: Uses, Functions and Applications
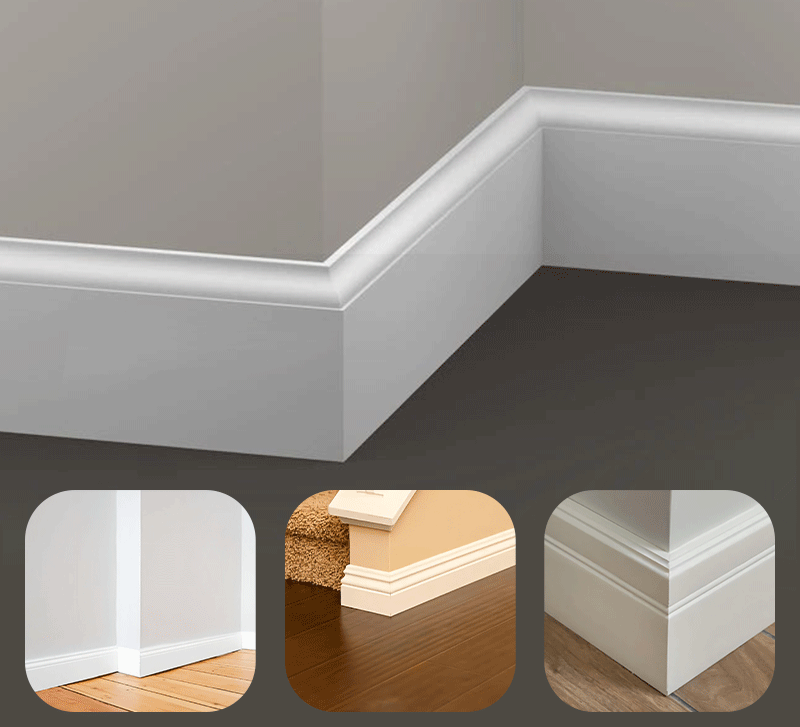
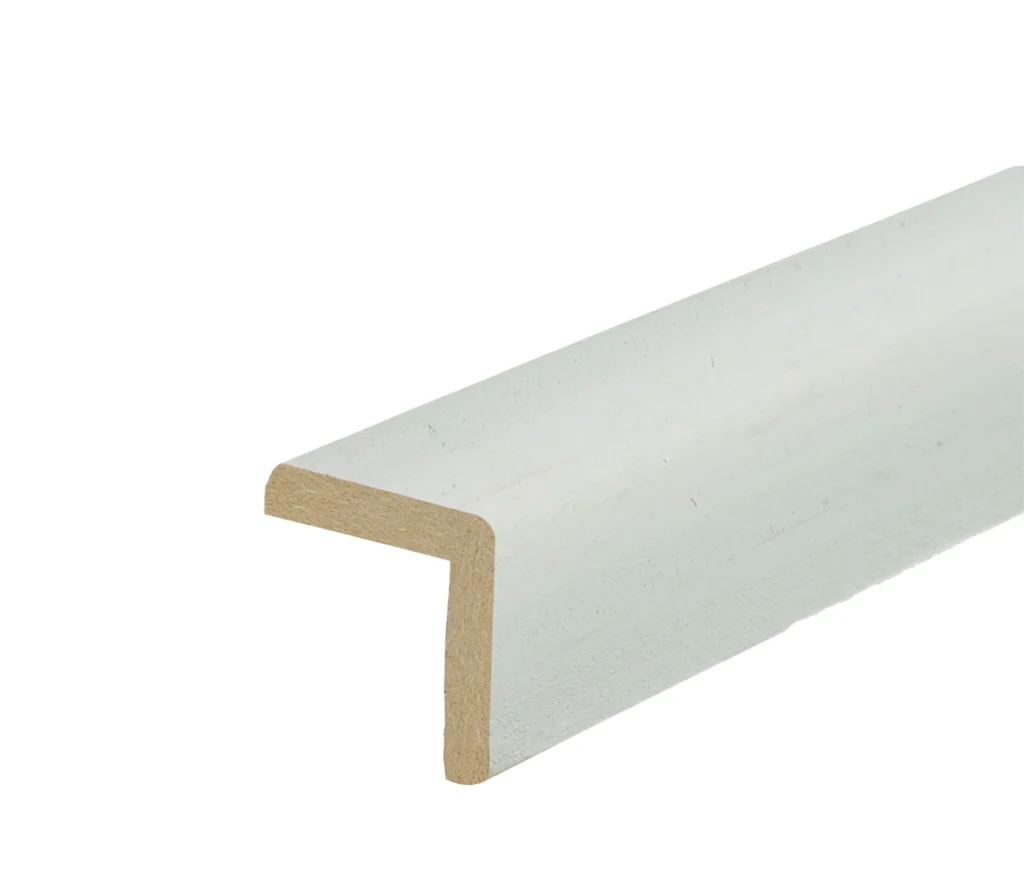
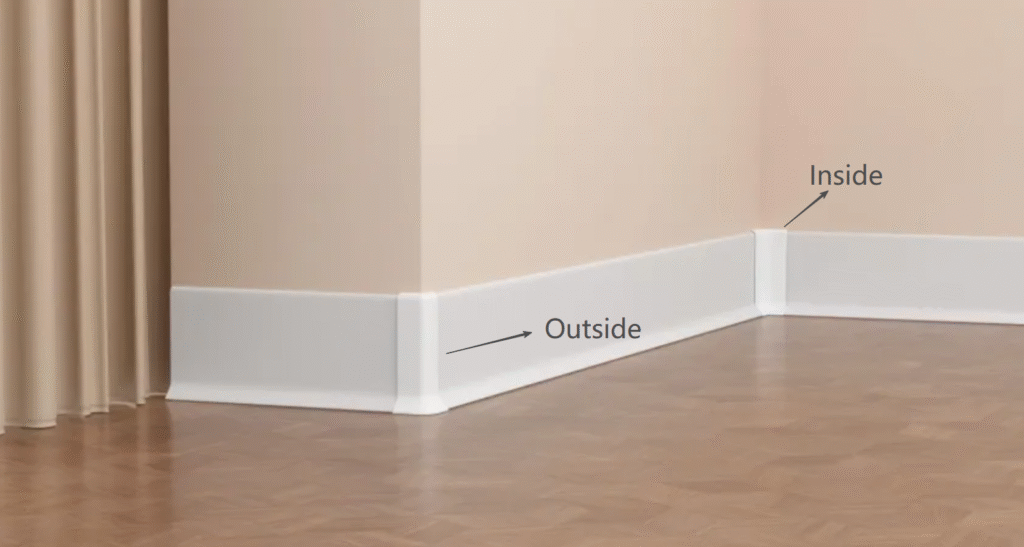
Outside corner moulding protects and defines convex corners—areas prone to impact from movement, furniture, or daily use. Builders commonly install them for:
- Drywall outside corners
- Columns or boxed-in beams
- Cabinet or millwork edges
- Wainscoting or paneling ends
Its primary role is reinforcement, providing clean visual edges and added protection.
Inside Corner Moulding: Uses, Functions and Applications
Inside corner moulding fills and finishes concave corners. It is commonly used for:
- Wall paneling
- Shiplap and tongue-and-groove boards
- Cabinetry and built-ins
- Crown moulding transitions
- Baseboard corners without miter joints
Its key advantage is flexibility—excellent for hiding gaps, correcting uneven surfaces, and absorbing wall movement.
Outside Corner Moulding vs. Inside Corner Moulding: Key Differences
1. Functional purpose
- Outside corners = protection and visual emphasis
- Inside corners = gap coverage and smooth transitions
2. Installation complexity
- Outside corners require precise alignment and firm fastening
- Inside corners are more forgiving and conceal irregularities
3. Durability
- Outside corners endure more physical impact
- Inside corners prioritize clean finishing over impact resistance
4. Visual effect
- Outside corners create crisp defined lines
- Inside corners create soft, blended transitions
How to Install Outside and Inside Corner Moulding
Outside Corner Moulding Installation Tips
- Pre-measure and dry-fit to catch wall irregularities early.
- Use adhesive + brad nails for maximum durability.
- Ensure both sides sit flush—even slight misalignment shows.
- Caulk and sand before painting for a seamless finish.
Inside Corner Moulding Installation Tips
- Accommodate slight angle variations in the walls.
- Nail into studs whenever possible for better long-term stability.
- Apply a thin bead of caulk for smooth visual transitions.
- Cut carefully to avoid visible gaps that caulk can’t hide.
Common Corner Moulding Installation Mistakes to Avoid
- Over-nailing outside corners
- Leaving inside corner gaps uncaulked
- Using non-moisture-resistant materials in wet areas
- Ignoring uneven drywall before installation
- Painting before caulk cures
Frequently Asked Questions About Corner Moulding
Q: What is the main difference between outside corner moulding and inside corner moulding?
A: The main difference lies in their function and placement. Outside corner moulding is designed to protect and cover exposed, convex corners (pointing outward) from physical impact and daily wear. Inside corner moulding is used on concave joints (pointing inward) to seamlessly cover gaps, hide uneven drywall, and create a smooth transition between two intersecting walls or trims.
Q: Why do I need to use outside corner moulding?
A: Outside corners, such as those on columns, boxed-in beams, or hallway turns, are highly susceptible to chipping and damage from furniture, vacuums, and heavy foot traffic. Installing outside corner moulding provides crucial reinforcement, impact resistance, and a crisp, finished architectural edge.
Q: Should I use nails or adhesive to install corner moulding?
A: For the most durable and professional result, it is best to use a combination of both. Apply a thin bead of high-quality construction adhesive to the back of the moulding, then secure it into the wall studs using a brad nailer. This dual-fastening method prevents the trim from popping off or shifting over time.
Q: How do you hide gaps when installing inside corner moulding?
A: Since inside corners are rarely perfectly square, slight gaps are common. To hide them, ensure the moulding is nailed securely into the studs, and then apply a thin, continuous bead of paintable caulk along the edges. Once the caulk is smoothed and painted, it creates a flawless, gap-free transition.
Conclusion
Corner mouldings are essential details that impact durability, finish quality, and long-term performance. Outside corner moulding strengthens and sharpens exposed edges, while inside corner moulding creates smooth transitions and covers imperfections. By understanding their functions and applying correct installation techniques, builders can deliver cleaner finishes, reduce rework, and improve the overall quality of every project.