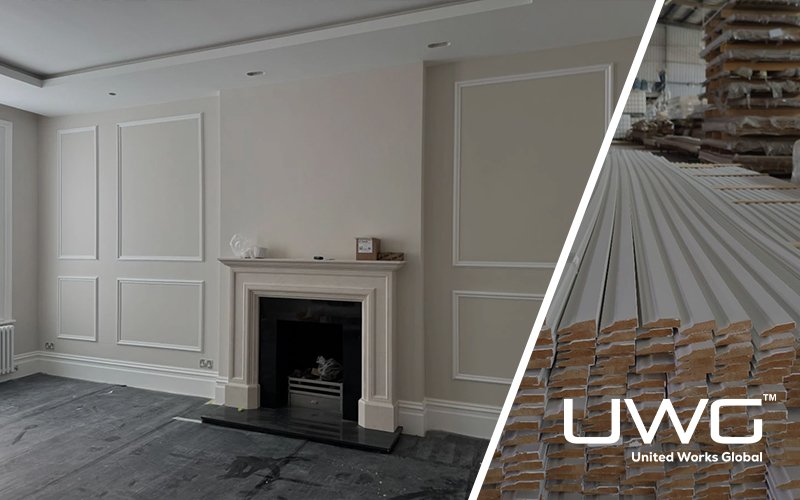
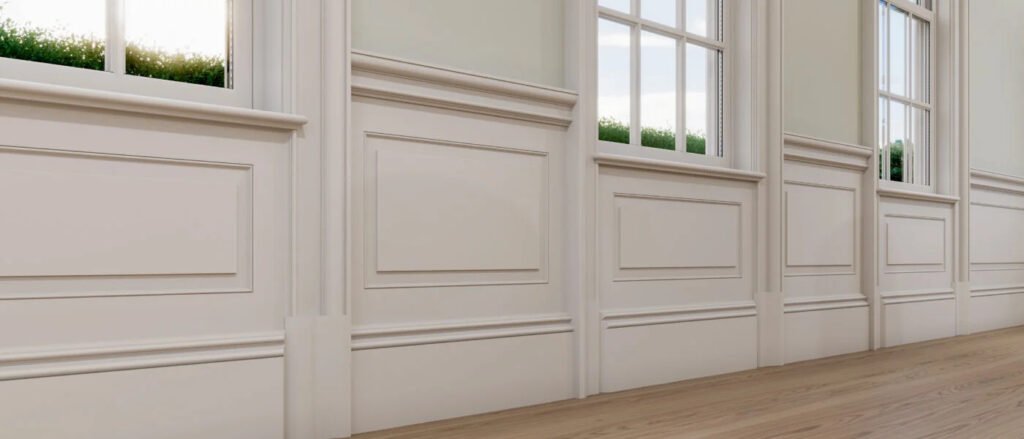
Wood panel moulding uses decorative trim to form frames or borders on a wall. In a picture-frame layout, the wall itself can remain visible inside each frame; you do not need full sheets of wood paneling to create the effect. The result is a patterned surface with added depth and shadow.
For builders, designers and homeowners, the main choices are the layout, the profile and the finish. Start by deciding whether you want applied frames or an actual panel assembly. That distinction affects the materials you order, the wall preparation and the installation work.
What Counts as Panel Moulding?
Panel moulding is the trim used to outline or finish a panel area. Applied directly to a flat wall, it can create rectangular boxes, stacked frames or borders around a feature. You may also see the term panel molding, using the American spelling.
It is one part of the broader wall moulding category, which also includes trim serving different locations and purposes, such as chair rails and baseboards.
Three terms are worth separating before you select a design:
- Panel moulding: the trim profile that defines a frame or panel edge.
- Wall paneling: boards or sheets that cover the wall surface.
- Wainscoting: a treatment covering the lower part of a wall. It can use different panel styles, rather than one fixed material or height.
A framed drywall surface can resemble traditional paneling, but it is not the same construction as a raised-panel assembly.
Which Wall Treatment Fits Your Design?
Choose the construction first, then refine the profile. Similar-looking walls can require different components.
| Treatment | What Creates the Pattern | When to Consider It | What to Check |
|---|---|---|---|
| Applied picture-frame moulding | Narrow trim forms separate frames on the existing wall | You want framed detail while leaving the wall visible | Wall finish, frame proportions and consistent gaps |
| Flat-panel or Shaker-style paneling | Flat panel areas are defined by rails and stiles | You want a simple, organized panel layout | Whether the specification calls for backing panels or exposed wall areas |
| Raised-panel paneling | A shaped center panel stands proud of its surrounding field | You want more pronounced relief and shadow | Actual panel construction, edge details and finishing work |
| Board-and-batten | Wider fields are divided by narrow battens | You want a stronger vertical rhythm or grid | Whether the design uses real boards or an applied decorative treatment |
| Beadboard | Repeating beads and grooves texture the panel surface | You prefer continuous texture rather than separate frames | Board or sheet format, joint alignment and material suitability |
Beadboard and shiplap are related wall-covering options, rather than interchangeable names for panel moulding. Compare shiplap and beadboard if you want a repeating board pattern instead of framed wall areas.
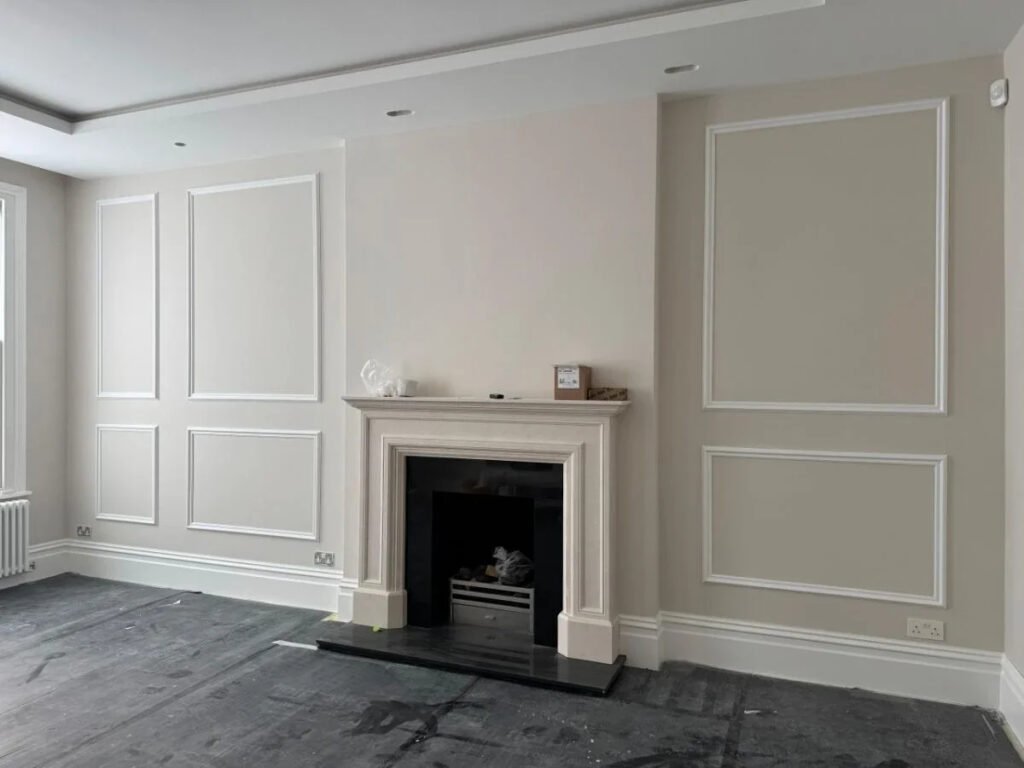
The main benefit of applied frames is visual structure. You can define a dining area, organize a large blank wall or frame a bed or console without covering every part of the wall. For a quieter effect, consider a simple profile painted the same color as the wall; contrast paint makes the frames more noticeable.
For more style references, browse these classic wall panel designs. Use them to choose a visual direction, then specify the actual construction separately.
Choose the Material Around the Finish and Room
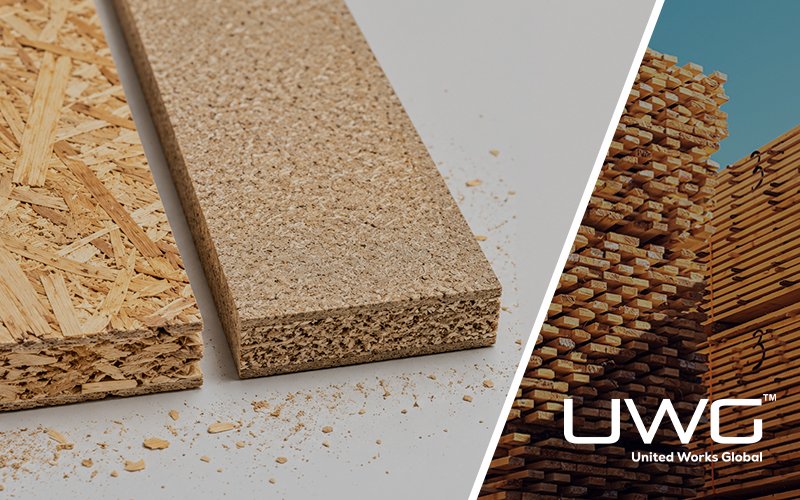
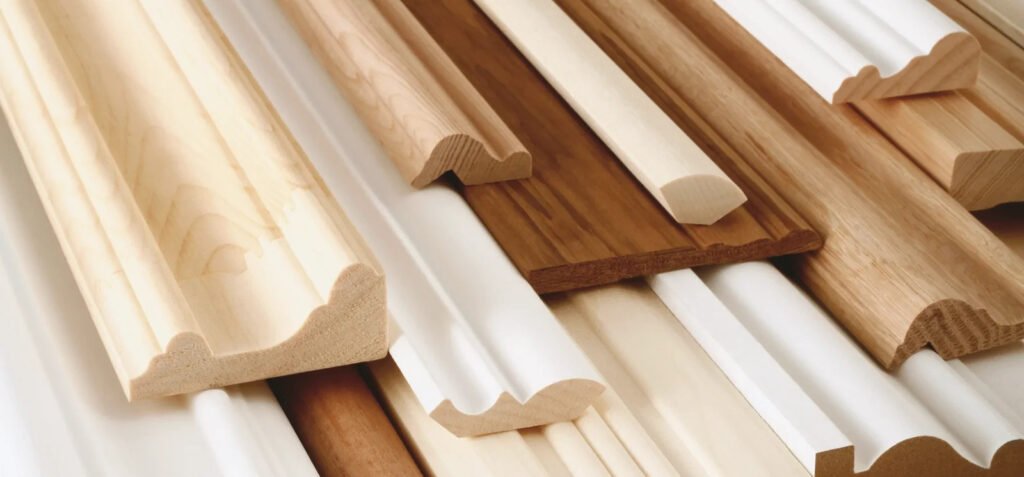
For painted walls, consider MDF or paint-grade wood. Medium-density fiberboard (MDF) is a wood-fiber composite used for mouldings and interior trim. Its uniform surface suits painted work, but standard MDF should not be treated as waterproof.
Ask which grade is being supplied and how cut edges should be finished. A factory primer does not remove the need to prepare joints, nail holes or exposed cuts as required by the coating system.
For visible grain, specify stain-grade wood. Choose the species and appearance grade from a finished sample. Paint-grade finger-jointed material should not be assumed to provide the continuous grain expected in a stained finish.
For damp locations, check the exact product. A bathroom, laundry room or wall exposed to splashing needs a material and finish approved for that exposure. Do not choose solely from a style photograph or assume that paint makes ordinary MDF suitable.
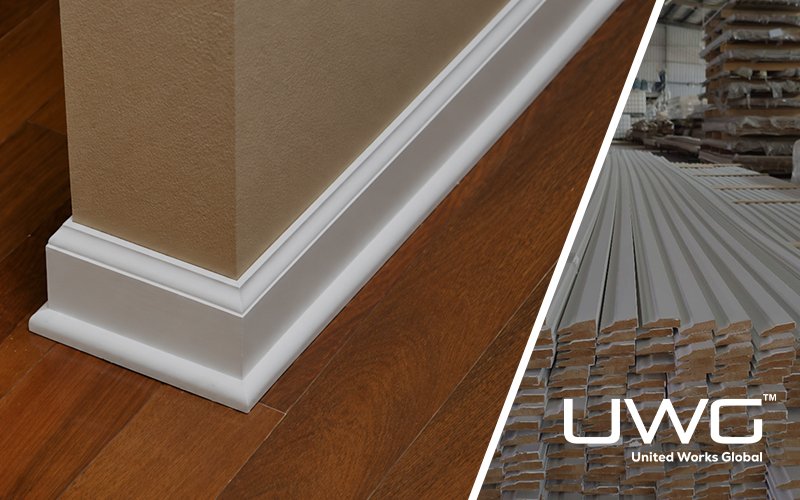
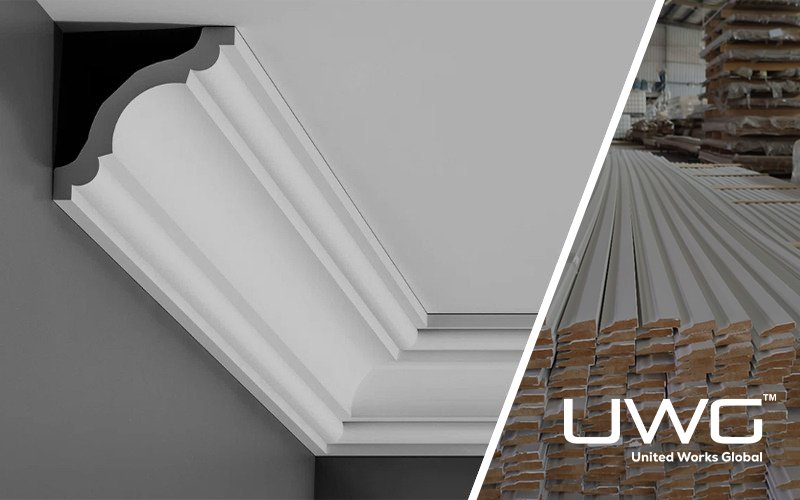
When matching the wall frames with adjacent baseboards, casing or chair rails, compare moulding and trim profiles together. Check their depth, edge detail and finish so the intersections work as a complete design.
Plan the Frames Before Ordering the Trim
The layout should respond to the wall’s fixed features: doors, windows, outlets, switches and furniture. A pattern that looks balanced on an empty drawing may run into a bedside table or leave an awkward sliver beside a doorway.
Start with a measured elevation and mark:
- The usable wall width and height.
- The outer edges of each proposed frame.
- Side margins and gaps between frames.
- The relationship to baseboards, chair rails and opening trim.
- Any interruptions that need a return, a smaller frame or a different arrangement.
Keep dimensions consistent where the design calls for repetition. If a wall is irregular, resolve the exception deliberately instead of forcing identical frames into unequal spaces. Tape the outlines onto the wall and view them from the room entrance before cutting material.
A Simple Layout Example
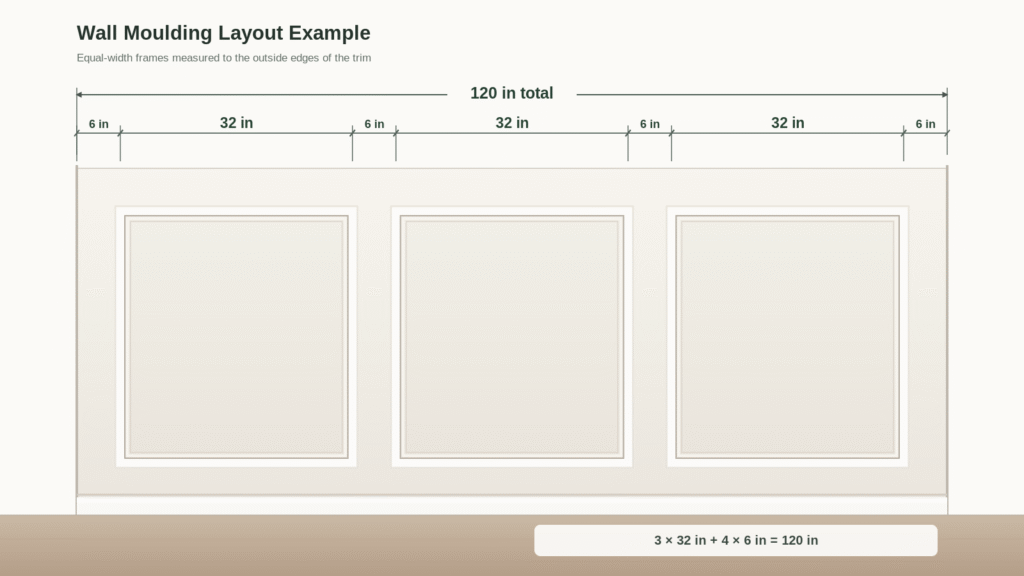
For an illustrative 120-inch-wide wall, suppose you choose three equal frames, 6-inch side margins and two 6-inch gaps between frames:
Outside width of each frame = (120 − 12 − 12) ÷ 3 = 32 inches.
These are example design choices, not standard dimensions. The 32-inch measurement is to the outside edges of the frame; the clear opening inside it will be smaller by the width of the trim on both sides. Label outside dimensions and clear openings separately on the drawing.
Choose the frame height around the furniture and any horizontal trim. Wainscoting does not have to stop at exactly one-third or one-half of the wall, and full-height frames do not need to touch the ceiling.
What Affects the Installed Cost?
Wall moulding cost depends on more than the price of each length. Compare quotes against the same drawing and scope, including:
- Trim and panels: material, profile, supplied lengths and any backing sheets.
- Wall preparation: repairs, flattening and the finish visible inside applied frames.
- Cutting and fitting: number of frames, corners, returns and interruptions.
- Finishing: joint preparation, edge sealing, primer and finish coats.
- Installation and handling: access, protection, packaging and the cutting allowance.
A simple applied-frame layout can involve less material than a fully paneled wall, but wall condition and finishing labor can change the comparison. Avoid comparing a trim-only material quote with a complete installed paneling quote.
Also distinguish appearance from performance. Applied frames leave most of the wall exposed, so they do not provide the same surface coverage as full paneling. Decorative trim should not be specified as impact protection, sound insulation or a fire-performance upgrade without supporting product or assembly information.
Check the Installation Conditions and Order Details
A straightforward applied-frame design may suit a capable DIY installer. Repeated rooms, elaborate profiles or demanding finish requirements call for a closer review of fitting and finishing labor.
Before installation, confirm that the wall is sound and suitable for the selected fixing method. Follow the trim and adhesive manufacturers’ instructions for the substrate; adhesive or nails are not universal solutions for every wall or profile.
Wood also responds to moisture conditions. Follow the product’s conditioning instructions rather than assuming one acclimation period fits every material and site.
For a project order, prepare a profile reference, material grade, finish sample, frame dimensions, quantities and supplied lengths. Include the cutting plan and packaging needs. For repeated units, approve a representative corner and wall section before ordering the full quantity. The bulk moulding buying guide covers the wider procurement checks.
For U.S. orders involving regulated MDF or other covered composite wood products, ask for the applicable TSCA Title VI labeling and documentation described in the EPA’s composite wood guidance. Confirm the supplied product’s status rather than treating a general material name as proof of compliance.
Conclusion
Panel moulding for walls works best when the construction, material and layout are planned together. Applied frames leave the existing wall visible, while paneled assemblies require different components and preparation. Choose the finish and material for the room’s conditions, then confirm frame dimensions, spacing and transitions before ordering. A measured layout and an approved sample provide a clearer basis for comparing options and quotes than a style photograph alone.