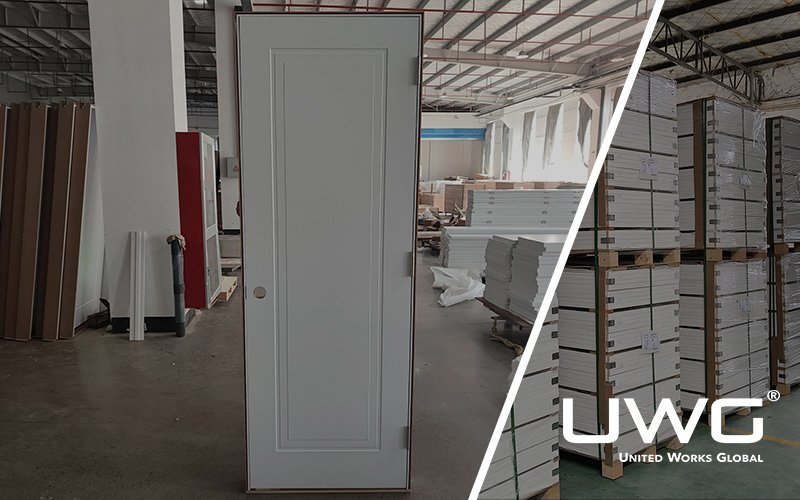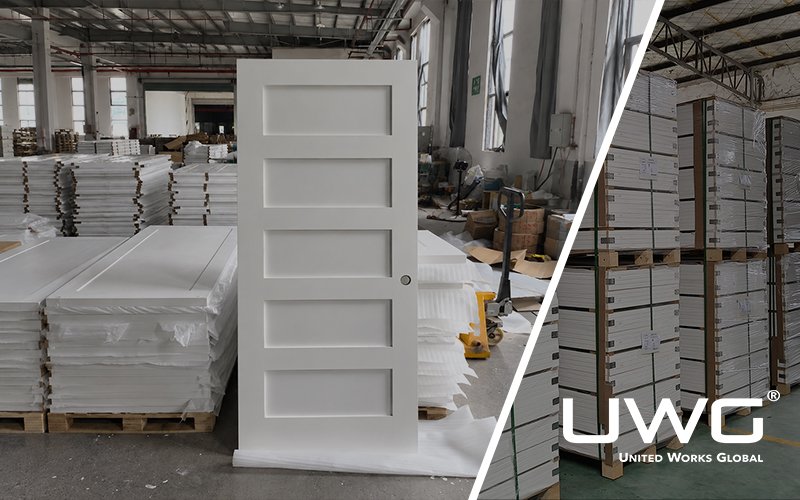
A prehung interior door installation involves placing a door that is already mounted in its frame into a prepared rough opening, then leveling, plumbing, shimming, fastening, and finishing the assembly.
The key to a good installation is not speed, but alignment. The hinge-side jamb should be plumb, the head jamb level, the frame square, and the gap between the slab and jamb consistent. For most standard residential openings, the work is manageable with basic carpentry tools and careful measurement.
What Is a Prehung Interior Door?
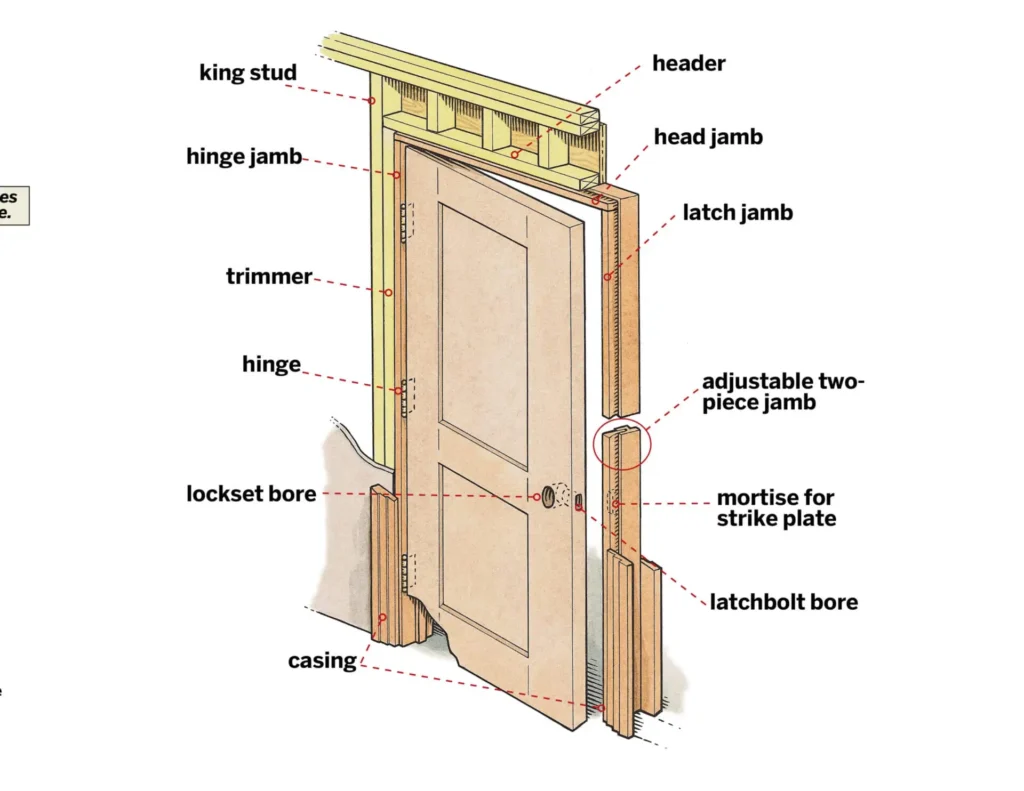
A prehung interior door is supplied with the door slab already mounted to a frame with hinges.
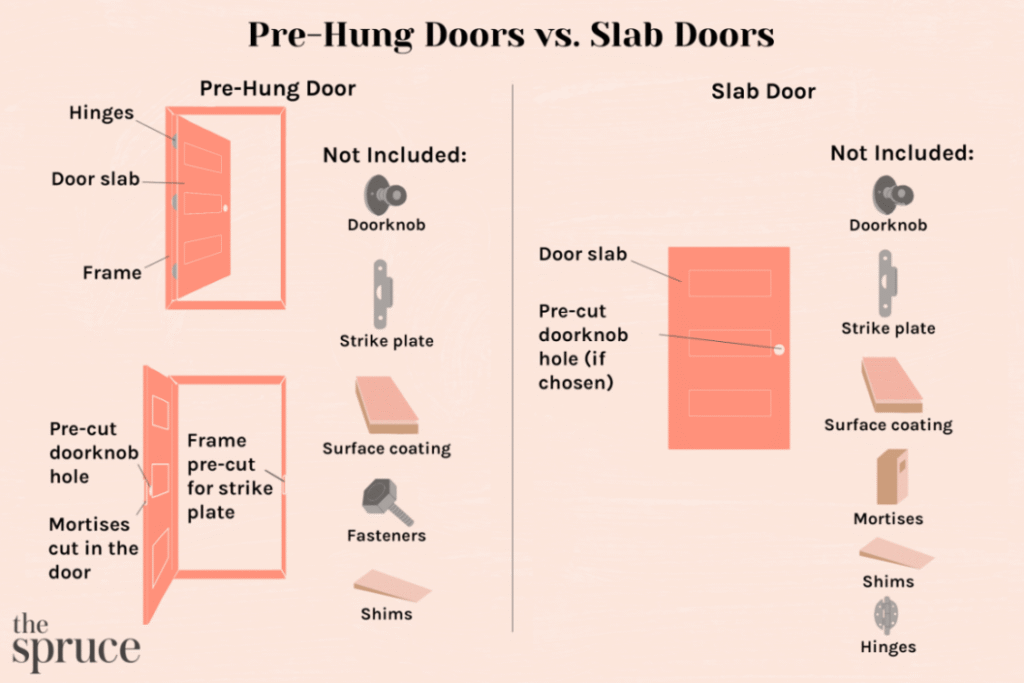
A typical unit may include:
- Door slab
- Hinge jamb
- Strike jamb
- Head jamb
- Hinges
- Door stop
- Lock and strike preparation, depending on the specification
Because the slab and frame are already coordinated, a prehung unit reduces the amount of hinge layout and door-fitting work required on site.
It is especially useful for new construction, full frame replacement, or openings where the existing jamb is damaged or unsuitable.
Prehung Door vs. Slab Door
A slab door is simply the door panel itself. The existing frame, hinge positions, lock preparation, and clearances must all match the replacement slab.
A prehung unit comes with its own coordinated frame.
| Feature | Prehung Door | Slab Door |
|---|---|---|
| Door slab included | Yes | Yes |
| Jamb/frame included | Yes | No |
| Hinges installed | Usually | Usually not |
| Field preparation | Less door preparation | More fitting and machining |
| Best suited for | New openings or full frame replacement | Replacing a slab in an existing frame |
| Main installation focus | Frame alignment | Slab fit and hardware alignment |
If the existing jamb is straight, undamaged, and correctly sized, replacing only the slab may be sufficient. If the entire opening needs to be renewed, a prehung unit is usually more practical.
What Tools and Materials Do You Need to Install a Prehung Interior Door?
Having the correct tools ready before setting the frame makes adjustment much easier.
Essential Installation Tools
Common tools include:
- Tape measure
- 4-foot or 6-foot level
- Drill / driver
- Hammer
- Utility knife
- Pry bar
- Combination square
- Nail set
- Saw, if trimming is required
A longer level is useful because it can reveal jamb bowing or vertical misalignment that may be difficult to see with a short level.
Materials and Fasteners
Depending on the project, you may need:
- Prehung door unit
- Wood or composite shims
- Installation screws
- Finish nails
- Caulk
- Wood filler
- Casing
- Primer, paint, or touch-up material
Fasteners should be selected according to the jamb material, framing, and project requirements.
What Should You Check Before Installation?
Before moving the door into the opening, confirm:
- Door width and height
- Door handing
- Swing direction
- Jamb width
- Finished wall thickness
- Rough opening dimensions
- Finished floor condition
- Hinge preparation
- Lock and strike preparation
Checking these items first helps prevent problems that cannot be corrected simply by adding more shims.
How Do You Measure the Rough Opening for a Prehung Interior Door?
The rough opening needs enough clearance for the frame and adjustment shims, but it should not be excessively oversized.
Measure the Rough Opening Width and Height
Measure the width at three points:
- Top
- Middle
- Bottom
Then measure the height at both sides of the opening.
Use the actual measurements rather than assuming the framing is straight.
As a general rule of thumb, the opening is often about 2 inches wider and approximately 2 to 2-1/2 inches taller than the nominal door slab, but the exact requirement depends on the frame design and manufacturer.
Always confirm the required opening size for the specific unit.
Check Whether the Rough Opening Is Square
Measure both diagonals.
If the two dimensions are noticeably different, the opening is out of square.
Minor variation can often be handled with shims. Significant framing errors should be corrected before the frame is installed.
Check Wall Thickness and Jamb Width
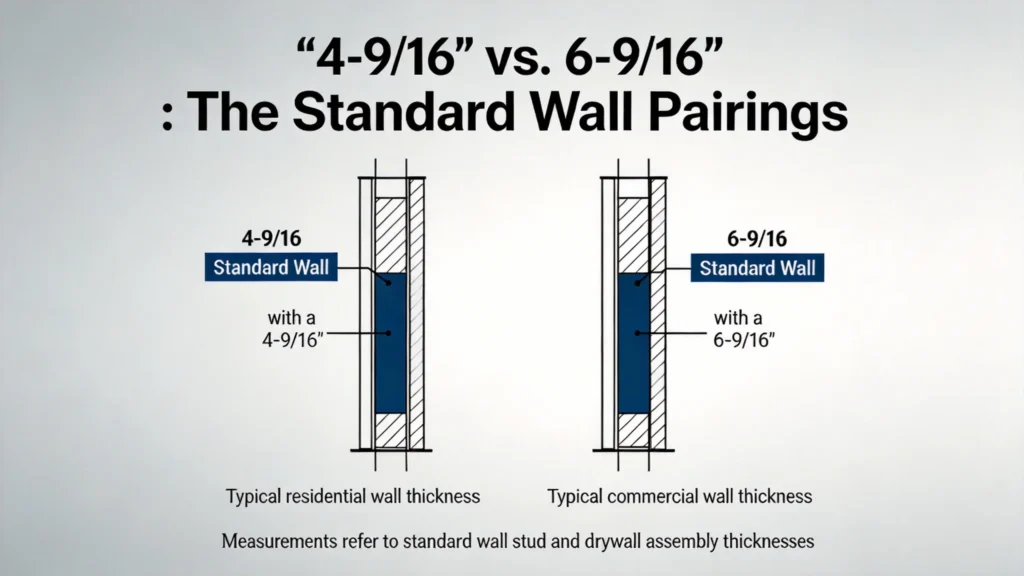
The jamb should correspond to the finished wall thickness, not only the stud dimension.
The finished wall may include:
- Framing
- Drywall
- Tile
- Wall panels
- Additional finish layers
A jamb that is too narrow will sit behind the wall surface. One that is too wide will project past it and can make casing installation difficult.
Two common North American conditions are:
| Typical Wall Construction | Common Jamb Width |
|---|---|
| 2×4 framing with typical drywall | 4-9/16″ |
| 2×6 framing with typical drywall | 6-9/16″ |
These are common configurations rather than universal standards. Measure the actual finished wall whenever possible.
Check the Finished Floor Height
Flooring affects the clearance below the slab.
Consider whether the opening will receive:
- Hardwood
- LVP or SPC
- Tile
- Carpet
- Underlayment
- Other finish materials
If the frame is installed before flooring, allow for the final floor buildup.
How to Install a Prehung Interior Door Step by Step
The frame should be adjusted and secured gradually. Avoid fastening everything tightly before testing the door.
Step 1: Dry-Fit the Door in the Rough Opening
Place the unit into the opening without permanently fastening it.
Check:
- Swing direction
- Overall fit
- Clearance around the frame
- Jamb position relative to the wall
- Bottom clearance
This initial fit can reveal sizing problems before work progresses.
Step 2: Level the Head Jamb
Place a level on the head jamb.
If the floor is uneven, one jamb leg may need adjustment so the head remains level.
A level head helps maintain an even gap across the top of the slab.
Step 3: Plumb the Hinge-Side Jamb
The hinge side is the main reference for the rest of the frame.
Check it both:
- Side to side
- Front to back
The jamb should remain straight and vertical through its full height.
If it leans, the door may tend to move open or closed on its own.
Step 4: Shim Behind the Hinges
Insert shims between the hinge jamb and rough framing.
Typical support points are near:
- Upper hinge
- Middle hinge
- Lower hinge
The shims provide a solid backing behind the loaded side of the frame.
Do not drive them too tightly. Excessive pressure can bow the jamb.
Step 5: Secure the Hinge-Side Jamb
Once the hinge side is correctly aligned, fasten it through supported shim locations.
After each fastener, check:
- Plumb
- Straightness
- Frame position
Driving a screw can move the jamb, so continue checking rather than assuming it remains aligned.
Step 6: Align the Strike-Side Jamb
Move to the latch side and adjust the jamb until the gap around the slab looks consistent.
Pay special attention to the strike location.
The door should close without:
- Rubbing
- Excessive force
- Large or uneven gaps
Step 7: Secure the Head and Strike Side
Fasten the remaining frame gradually.
A good sequence is:
- Adjust
- Fasten
- Test
- Recheck
This helps prevent the frame from being pulled out of alignment.
Step 8: Check the Door Reveal
The reveal is the visible gap between the slab and the jamb.
Inspect the:
- Hinge side
- Head
- Strike side
A gap that becomes wider or narrower usually indicates that the frame needs further adjustment.
Step 9: Test the Swing and Latch
Open and close the door several times.
Confirm that:
- It moves freely
- It does not rub against the frame
- It does not drag on the floor
- It remains reasonably where positioned
- The latch enters the strike smoothly
- Closing does not require excessive force
Any problem should be corrected before installing the finish trim.
Step 10: Trim the Shims
After the frame is fully adjusted and secured, cut the excess shim material flush.
Take care not to damage the wall or jamb.
The opening is now ready for casing and final finishing.
Where Should You Shim and Fasten a Prehung Door?
Shims are used to support and position the frame without altering the rough framing itself.
Shim the Hinge Side First
Begin on the hinge side because it carries the weight of the slab.
Support the jamb near the hinge locations so it remains:
- Vertical
- Straight
- Firmly backed
Shim the Strike Side
After the hinge side is secure, adjust the opposite jamb.
Add support near the latch or strike area and at other locations as needed to maintain a consistent reveal.
Screws vs. Finish Nails for Door Installation
Screws provide stronger attachment and are useful at critical frame locations.
Finish nails are more commonly used for:
- Casing
- Decorative trim
- Lighter fastening where permitted
The exact fastener type and length should match the door system and wall construction.
How to Avoid Bowing the Door Jamb
Overdriving screws or forcing shims too tightly can pull the frame out of shape.
This can cause:
- Rubbing
- Tight spots
- Uneven gaps
- Latch misalignment
Fasten gradually and keep testing the slab during the process.
How Do You Check Whether a Prehung Door Is Installed Correctly?
A final visual inspection is not enough. The door should also be tested mechanically.
Check the Reveal Around the Door
The gap between the slab and frame should appear consistent around the sides and top.
A tight area next to a wider area usually points to a jamb alignment problem.
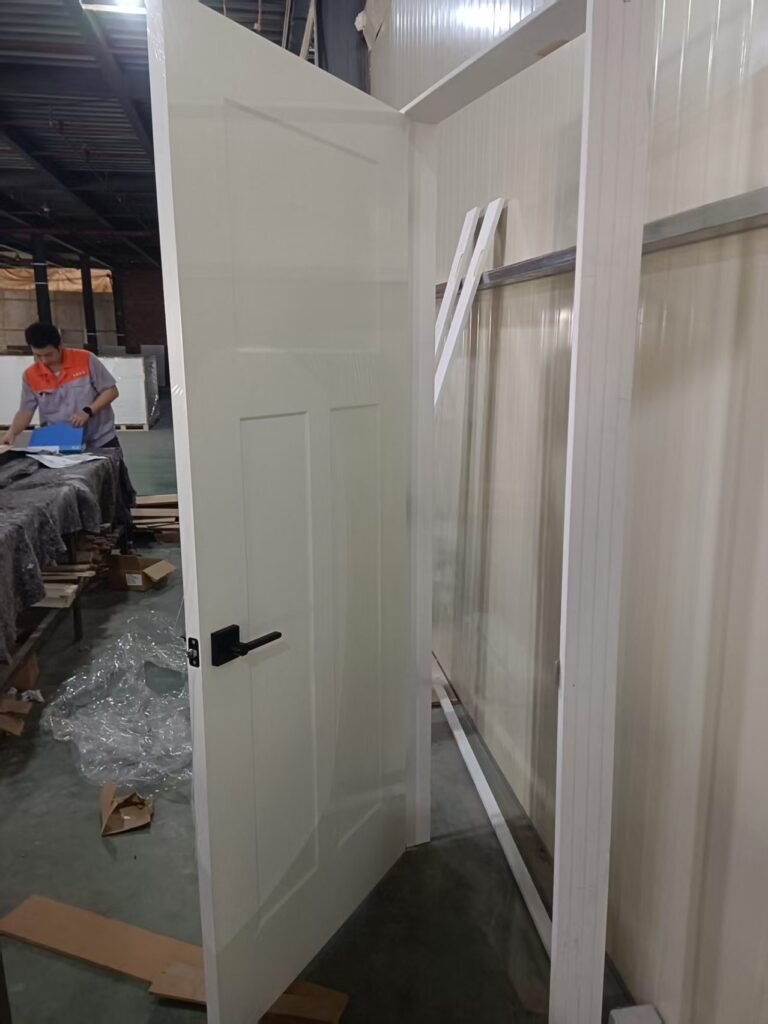
Check Whether the Door Swings Freely
Move the slab through its full normal range.
It should not:
- Bind at the hinges
- Rub on the strike jamb
Check Whether the Door Stays in Position
Open it partway and release it.
If it consistently moves by itself, recheck the vertical alignment of the hinge jamb.
Check Floor Clearance
Verify that there is enough space below the slab for the finished flooring.
Remember to account for carpet, underlayment, or flooring that has not yet been installed.
How Do You Finish a Prehung Interior Door Installation?
Once the frame and slab are operating correctly, the opening can be finished.
Install the casing around the jamb while maintaining a consistent reveal.
Common casing joints include:
- Mitered joints
- Butted joints
Mitered joints work particularly well with continuous decorative profiles.
Butted joints are often used with flat trim in Craftsman, Shaker, modern farmhouse, and other simple interior styles.
After fitting the casing:
- Fasten it securely
- Fill nail holes
- Caulk appropriate small gaps
- Touch up primer or paint
- Install the lockset
- Adjust the strike plate
- Clean the finished surfaces
Complete all frame adjustments before final casing installation. Once the casing is fixed in place, correcting the jamb becomes more difficult.
Common Prehung Interior Door Installation Mistakes and How to Fix Them
Many door problems are caused by frame alignment rather than by the slab itself.
Installing the Door Without Checking the Rough Opening
What happens:
The frame may fit poorly or require excessive adjustment.
How to fix it:
Check width, height, diagonals, wall thickness, and floor conditions before starting. Repair major framing problems first.
Ignoring an Uneven Floor
What happens:
The head jamb may sit out of level and the reveal can become uneven.
How to fix it:
Check the floor before setting the frame and adjust the jamb legs as necessary.
Installing the Hinge Jamb Out of Plumb
What happens:
The slab may move open or closed by itself or bind during operation.
How to fix it:
Correct the vertical alignment before fully securing the frame.
Using Too Many or Too Few Shims
What happens:
Too little support can allow movement, while too much pressure can distort the jamb.
How to fix it:
Shim at important support and fastening points without forcing the frame out of shape.
Over-Tightening Screws
What happens:
The frame can be pulled toward the rough framing and the reveal becomes uneven.
How to fix it:
Tighten gradually and recheck the frame after each adjustment.
Fastening the Frame Before Checking the Reveal
What happens:
The jamb may become securely fixed in the wrong position.
How to fix it:
Test the gap around the slab throughout the installation process.
Choosing the Wrong Door Handing
What happens:
The door opens in the wrong direction or the hardware is located incorrectly.
How to fix it:
Confirm handing and swing direction before ordering and again before installation.
Using the Wrong Jamb Width
What happens:
The jamb sits behind or projects beyond the finished wall.
How to fix it:
Specify the frame based on actual finished wall thickness.
Installing Casing Before Final Door Adjustment
What happens:
Later corrections may damage the casing or finished wall.
How to fix it:
Complete all frame, swing, reveal, and latch adjustments first.
Prehung Interior Door Installation for Builders and Multifamily Projects
Installing a single door and installing hundreds of openings require different levels of coordination.
For builders and multifamily projects, standardization can improve efficiency and reduce field errors.
Standardize Door and Jamb Specifications
Where practical, standardize:
- Door sizes
- Door thicknesses
- Jamb widths
- Hinge specifications
- Casing profiles
- Lock preparation
- Door stops
Fewer variations make production, delivery, and field installation easier to control.
Confirm Door Handing Before Installation
Cross-check each opening against the door schedule.
Confirm:
- Door number
- Room
- Size
- Handing
- Swing
- Hardware preparation
A handing error repeated across many units can create significant rework.
Organize Doors by Unit or Opening
Clear product identification can include:
- Building
- Floor
- Unit
- Room
- Door number
- Size
- Handing
This allows crews to match each unit to the correct opening more efficiently.
Establish a Repeatable Installation Standard
A project-wide method can specify:
- Shim locations
- Fastener types
- Installation sequence
- Reveal requirements
- Hardware preparation
- Inspection criteria
This becomes especially valuable when several crews are working on the same development.
Perform a Final Door Installation Inspection
Before turnover, check:
- Jamb plumb
- Head jamb level
- Frame alignment
- Reveal
- Swing
- Floor clearance
- Latch operation
- Hinge fastening
- Casing
- Surface finish
A consistent inspection process can reduce punch-list work and callbacks.
Prehung Interior Door Installation FAQs
Is Installing a Prehung Interior Door Difficult?
It is manageable for someone with basic carpentry skills, but frame alignment requires care.
The most challenging part is usually keeping the jamb plumb and square while maintaining an even gap around the slab.
What Size Rough Opening Do I Need for a Prehung Interior Door?
The exact requirement depends on the specific frame.
A common rule of thumb is approximately 2 inches wider and 2 to 2-1/2 inches taller than the nominal slab, but the manufacturer’s opening requirement should always take priority.
Should You Install a Prehung Door Before or After Flooring?
Either sequence can work.
The important point is to account for the final floor height before permanently setting the jamb.
If flooring will be added later, include the flooring and underlayment thickness in the clearance calculation.
Where Should Shims Go on a Prehung Interior Door?
Common locations include:
- Upper hinge
- Middle hinge
- Lower hinge
- Strike area
- Additional points needed to keep the jamb straight
The shims should support the frame without distorting it.
How Much Gap Should Be Around an Interior Door?
The gap should be consistent and appropriate for the specific door system.
Rather than applying one dimension to every product, use the manufacturer’s required reveal and confirm smooth operation.
Why Won’t My Prehung Door Latch?
Possible causes include:
- Strike misalignment
- Incorrect strike-side jamb position
- Uneven reveal
- Door sag
- Frame out of square
Check the frame first before relocating the strike plate.
Can You Install a Prehung Door in an Existing Frame?
A prehung unit is designed to be installed with its own jamb system.
If the existing frame will remain, a replacement slab may be the more suitable option.
How Long Does Prehung Interior Door Installation Take?
Time varies according to:
- Installer experience
- Opening condition
- New construction or replacement
- Door size
- Trim work
- Hardware preparation
A clean, correctly sized opening can be completed much faster than one requiring framing correction or jamb modification.
Final Prehung Interior Door Installation Checklist
Rough Opening and Frame
- Rough opening dimensions are correct
- Jamb width matches finished wall thickness
- Hinge jamb is plumb
- Head jamb is level
- Frame is square
- Jamb is adequately supported
- Fasteners are secure
Door Operation
- Reveal is consistent
- Door swings freely
- Door remains reasonably in position
- Door does not rub
- Latch aligns correctly
- Floor clearance is sufficient
Finishing
- Hinges and fasteners are secure
- Casing sits flat
- Hardware functions correctly
- Nail holes are filled
- Required gaps are caulked
- Paint or touch-up work is complete
Conclusion
A successful installation depends primarily on accurate preparation and frame alignment.
Start by confirming the rough opening, wall thickness, jamb width, handing, flooring, and hardware preparation. During installation, establish a straight and plumb hinge jamb, keep the head level, support the frame with shims, and secure it gradually.
Most importantly, test the door throughout the process rather than waiting until every fastener is installed. Consistent reveal, smooth swing, proper floor clearance, and correct latch alignment are better indicators of a successful installation than appearance alone.
For builders and multifamily projects, standardized specifications, clear labeling, repeatable installation procedures, and final inspections can improve consistency across a large number of openings.