Door jamb selection affects installation speed, finish quality, labor requirements, and rework costs. A jamb that does not match the finished wall can sit short of the surface, project beyond the drywall, leave gaps behind the casing, or require extensions at the jobsite. Across a multifamily project, a small mismatch repeated at every opening can quickly become a scheduling and labor problem.
Builders and contractors should choose between split jambs and flat jambs after confirming the finished wall thickness, project type, installation method, trim package, and available finish-carpentry labor. The best option is the one that fits the wall assembly and delivers the lowest practical installed cost.
What Is a Split Jamb?
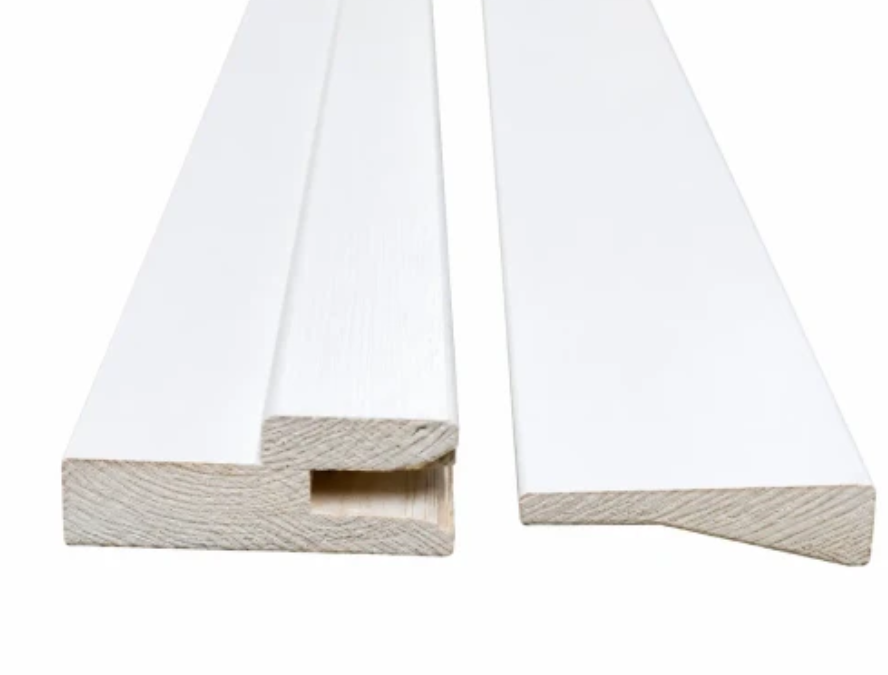
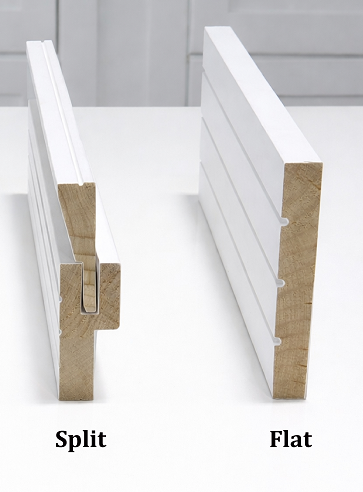
A split jamb is a two-piece interior door-frame system. The two sections overlap or interlock, commonly through a tongue-and-groove profile. One section enters the opening from one side of the wall, and the second section slides into it from the opposite side.
This construction gives the installer a limited adjustment range. It can absorb small differences in finished wall thickness without extensive ripping, planing, or the immediate addition of jamb extensions. The exact range depends on the profile, so the supplier should state the minimum and maximum finished wall thickness on the shop drawing.
Split jambs are frequently supplied with prehung interior doors. The slab is already mounted to the hinge-side frame, while the stop and casing may be factory-attached. For contractors installing repeated openings, this reduces measuring, mitering, fastening, filling, and touch-up work at the site.
The main advantages are faster installation, limited wall-depth adjustment, and more consistent factory-prepared trim. The tradeoffs are a defined adjustment range and fewer casing choices. A split jamb also depends on accurate alignment between its two sections; a poorly seated joint can leave one side of the casing away from the wall.
What Is a Flat Jamb?
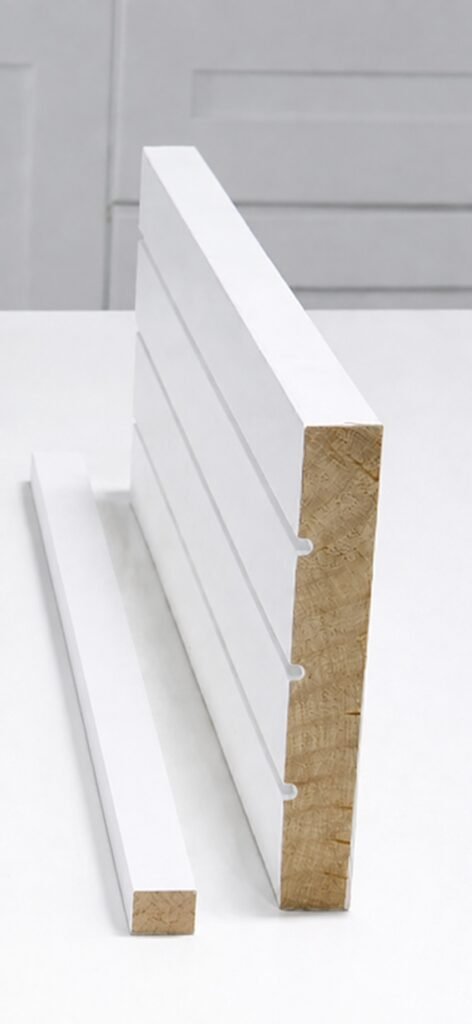
A flat jamb is a one-piece frame board with a fixed width and a straight profile. It normally uses a separate applied door stop. Casing is also commonly selected, cut, and installed separately on both sides of the opening.
Flat jambs can be produced in standard widths or custom-ripped to suit a particular wall assembly. They work especially well in new construction where framing, drywall, and finish layers repeat consistently from unit to unit. The separate stop gives the installer some control over the final door position, while the independent casing allows the trim package to follow the architectural design.
The main advantages are simple one-piece construction, broad casing flexibility, and straightforward custom sizing. The tradeoffs are greater dependence on accurate wall dimensions and more on-site finish work. If the jamb is too narrow, an extension may be required. If it projects beyond the wall, the casing may not sit flat.
Split and flat jambs are not the only door-frame profiles available. Single-rabbeted and double-rabbeted jambs use machined rabbets rather than an adjustable split connection or a flat board with an applied stop. This article focuses on split and flat jambs; a separate Door Jamb Styles Guide can compare all four profiles in detail.
Split Jamb vs. Flat Jamb: Key Differences
The practical difference is how each system fits the wall and how much work moves from the factory to the jobsite. These differences affect scheduling, finish-carpentry requirements, installation consistency, and rework risks.
| Comparison | Split Jamb | Flat Jamb |
|---|---|---|
| Construction and adjustability | Two overlapping or interlocking sections; adjustable within a specified wall-thickness range | One-piece construction with a fixed width; must closely match the finished wall thickness |
| Door-stop configuration | Usually integrated into the jamb system or factory-positioned | Normally supplied and installed as a separate applied stop |
| Casing installation | Often factory-attached to one or both jamb sections | Usually measured, cut, and installed separately on site |
| Installation speed | Generally faster when supplied as a complete prehung and pre-cased unit | Usually slower because the stop and casing require additional field installation |
| On-site labor requirements | Reduces measuring, cutting, mitering, fastening, and touch-up work | Requires more finish-carpentry labor for stop placement, casing, filling, and finishing |
| Trim flexibility | Usually limited to the casing profile supplied with the jamb system | Allows contractors to select different casing profiles, widths, joints, and finishes |
| Material and total installed costs | Complete assembly may cost more, but reduced field labor can lower the total installed cost | Basic jamb material may cost less, but separate trim and additional labor can increase the total installed cost |
| Best applications | Renovations, prehung door installations, tight schedules, and walls with minor thickness variations | Standardized new construction, custom trim packages, slab-door installation, and projects with consistent wall assemblies |
How Wall Thickness Affects Jamb Selection
Measure the Finished Wall, Not the Stud Alone
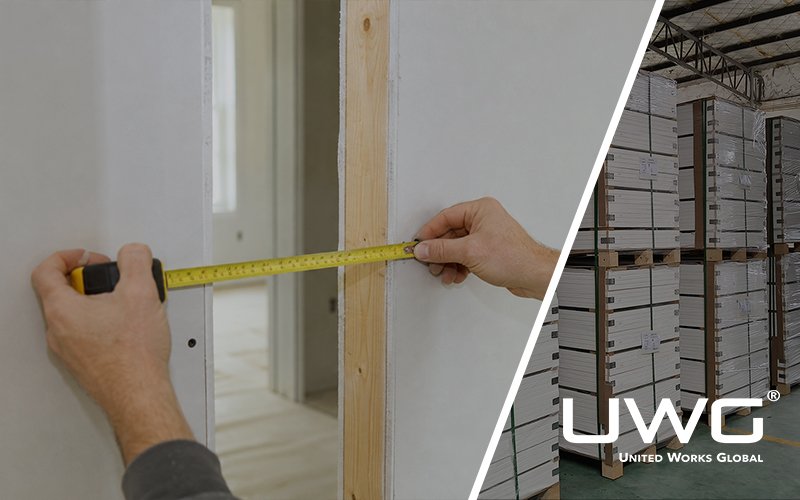
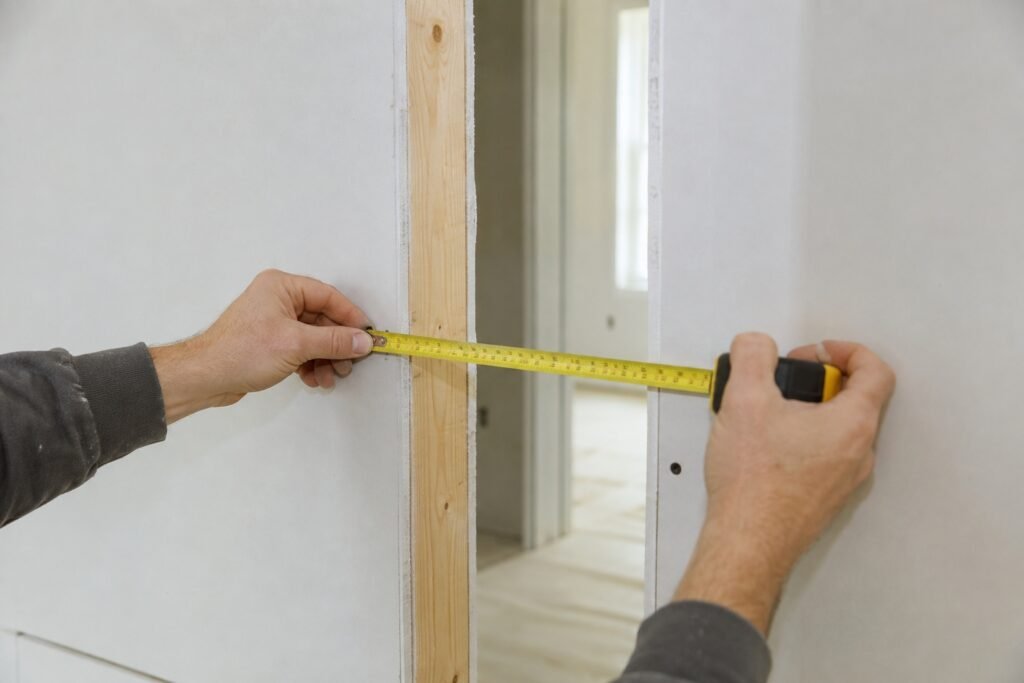
Finished wall thickness includes the stud, drywall on both sides, tile, backer board, plaster, wall panels, sound-control layers, and any other applied finish. The jamb edges should finish close to flush with the two visible wall surfaces so the casing can sit flat.
A nominal 2×4 wood stud is approximately 3-1/2 inches deep. With 1/2-inch drywall installed on both sides, the completed partition is about 4-1/2 inches thick. This is why a 4-9/16-inch jamb is common for many interior 2×4 walls.
A bathroom wall with tile and backer board on one side may require a wider jamb even though the same stud size is used. If the additional finish layer is missed during ordering, the jamb may stop short of the completed wall surface.
Common Nominal Jamb Widths
Two common North American interior jamb widths are:
- 4-9/16 inches for many finished 2×4 walls
- 6-9/16 inches for many finished 2×6 walls
These dimensions are useful starting points rather than automatic selections. Drywall thickness, wall finishes, manufacturing tolerances, and project details determine the final specification.
Contractors should measure the wall at the top, middle, and bottom of each representative opening. On large projects, openings should be grouped by wall type in the door schedule. This is more reliable than assigning one standard jamb width to the entire building.
Know What Adjustability Can and Cannot Solve
A split jamb handles small, predictable variations inside its approved range. It does not correct severely bowed walls, out-of-plumb framing, or a wall buildup that exceeds the profile.
A flat jamb can be custom-sized for a nonstandard wall, but the required width should be confirmed before production. Accurate wall information remains essential for both systems.
How Installation and Finishing Differ
Split-Jamb Installation Workflow
The installer first checks the rough opening and confirms the wall thickness. The door-bearing half is placed in the opening, shimmed behind the hinge and strike locations, and adjusted until the jamb is plumb and the reveal is even.
After the door operates and latches correctly, the second section slides in from the opposite side until the casing reaches the wall. Final fastening should keep the two sections aligned without distorting the frame.
Where casing is already attached, the installer should check that it contacts the wall evenly before final fastening. Forcing the second section into an opening outside its adjustment range can separate the joint or leave visible casing gaps.
Flat-Jamb Installation and Trim Workflow
A flat jamb is positioned, shimmed, and secured as a fixed frame. The door is then hung or checked within the prehung unit. The applied stop is set against the closed door to establish the final closing position.
Casing is measured, cut, mitered, and installed on both sides. Filling, sanding, caulking, and paint touch-up follow as required.
On a single opening, the added trim work may be modest. Across dozens or hundreds of doors, the difference affects crew planning. A split-jamb package moves more work to the factory, while a flat-jamb package keeps more finishing decisions in the field.
How to Choose Between a Split Jamb and a Flat Jamb
Check Wall Conditions and Adjustment Range
Use actual finished-wall measurements and compare them with the split-jamb adjustment range or flat-jamb production width.
Renovation work with minor wall-thickness variations often favors a split jamb. Repetitive new construction with controlled wall assemblies often favors a flat jamb.
When several wall types appear in the same project, builders may use more than one jamb width or construction method. The door schedule should identify the correct jamb specification for each opening.
Confirm Stop and Casing Scope
A product name does not confirm the complete supply package. The quotation should state:
- Whether the stop is integrated, attached, or supplied loose
- Whether casing is included for one or both sides
- Whether the casing is factory-attached
- The casing profile, width, and thickness
- The joint style and surface finish
- Whether touch-up materials are included
These details matter when comparing quotations. A lower jamb price may exclude stops, casing, machining, or assembly that another supplier includes.
Compare Factory Work and Field Labor
A pre-cased split jamb can save field labor, but it offers less freedom to change the trim profile. A flat jamb works well when an experienced finish crew is already installing custom mouldings throughout the project.
Builders should evaluate crew availability, production rate, required touch-up, and the risk of inconsistent workmanship across repeated openings.
Factory preparation can improve consistency, particularly when the order includes hinge mortising, strike preparation, door stops, and casing. Field installation provides greater flexibility but depends more heavily on installer skill and jobsite conditions.
Compare Total Installed Scope
Compare the cost of the completed opening rather than the jamb alone. The calculation should include:
- Door frame
- Door stop
- Casing
- Hardware machining
- Factory assembly
- Packaging
- Installation time
- Painting and touch-up
- Jamb extensions
- Potential rework
A higher factory price can still produce a lower installed cost when it removes enough jobsite operations.
In North American residential work, flat jambs are common where wall assemblies are standardized and contractors want control over the casing package. Split jambs are also widely used for prehung interior doors, especially when installation speed or slight wall-depth variation matters.
Regional millwork practices differ. Builders should confirm local installer preferences before releasing a large order, particularly when changing from a familiar door-frame system to a new one.
Common Installation Mistakes
The most frequent jamb problems begin before installation. Contractors may measure the stud instead of the finished wall, overlook tile or backer board, or assume that every split-jamb profile has the same adjustment range.
Another common issue is ordering one jamb width for several wall types without checking the architectural wall schedule.
During installation, fastening the frame before checking plumb, level, square, and reveal can create binding or latching problems. Fasteners driven without correctly placed shims can bow the jamb.
Split sections that are not fully seated may leave a casing gap. An applied stop positioned without the door closed can create an uneven contact line around the slab.
A representative mock-up is one of the most effective controls on a large project. Complete one opening using the actual wall buildup, door slab, hinges, lock preparation, stop, and casing. Approve the result before repeating the installation across the building.
Key Specifications to Confirm Before Ordering
Door and Opening Dimensions
Confirm the slab width, height, thickness, rough-opening dimensions, undercut, and finished-floor condition.
Wall and Jamb Dimensions
Provide the finished wall thickness by wall type, jamb-board thickness, jamb width, and any split-jamb adjustment range.
Frame Construction
Identify split or flat construction and supply an approved cross-sectional drawing with production tolerances.
Stop and Casing
State whether each component is included, loose, attached, or factory-installed. Confirm the profile, dimensions, quantity, material, and finish.
Hardware Preparation
Confirm door handing, hinge size and locations, bore dimensions, lock backset, strike preparation, and hardware finish.
Finish and Packaging
Specify unfinished, primed, painted, or stained surfaces. Confirm whether the units will ship prehung, knock-down, or as loose components.
For high-volume projects, the approved shop drawing and bill of materials should take priority over general product names. This reduces misunderstandings about dimensions, machining, trim, and included components.
Jamb construction should be coordinated with the door slab, frame, hardware, and opening configuration as a complete system. Our range of interior doors includes different configurations that can be matched to these project requirements.
Frequently Asked Questions
Is a Split Jamb Faster to Install?
It can be faster when supplied as a complete prehung unit with the stop and casing already attached. The installer still needs to shim, align, fasten, and test the door correctly.
Can a Split Jamb Fit Any Wall Thickness?
No. Every split-jamb profile has a defined minimum and maximum range. The actual finished wall thickness must fall inside that range.
Which Jamb Is Better for New Construction?
Flat jambs work well when new wall assemblies are consistent and the project uses a planned trim package. Split jambs may be more efficient when the construction schedule favors complete factory-prepared prehung units.
Is a Flat Jamb Cheaper Than a Split Jamb?
The basic flat-jamb material is often less expensive, but the complete installation may require separate stops, casing, additional labor, and touch-up. Total installed cost per opening is the better comparison.
Conclusion
Split jambs are well suited to prehung installations, renovation work, and walls with minor thickness variations. Flat jambs are a strong choice for standardized new construction, custom casing packages, and projects with capable finish-carpentry crews.
For builders and contractors, the decision should begin with the finished wall thickness and end with the complete installed scope. Accurate wall schedules, detailed cross-sectional drawings, a clear bill of materials, and one approved mock-up provide the most reliable path to consistent installation and lower rework risk.