Double hung windows are one of the most commonly used window styles in residential construction. While the installation process may appear straightforward, proper flashing, leveling, shimming, and sealing are critical to achieving long-term performance. This guide outlines the essential steps builders should follow to ensure successful double hung window installation and minimize future service issues.
Installing double hung windows correctly involves preparing the rough opening, applying flashing, positioning and shimming the window, securing the frame, insulating around the opening, and completing proper sealing. Each step plays an important role in preventing air leakage, water infiltration, and operational problems. By following manufacturer guidelines and industry best practices, builders can improve energy efficiency, reduce warranty claims, and ensure long-term window performance.
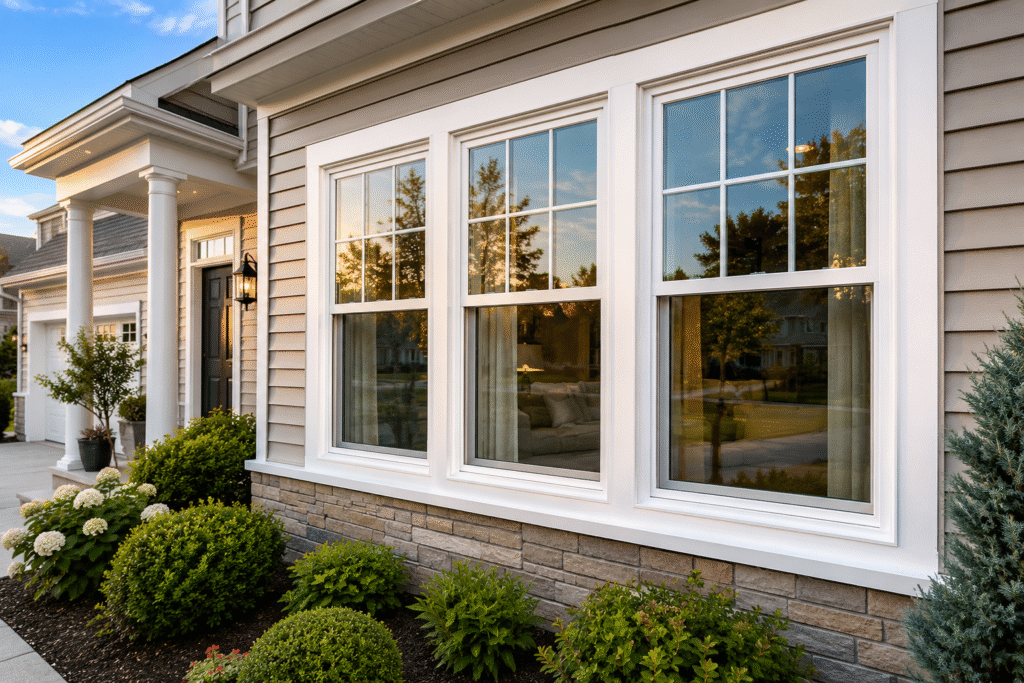
What Is a Double Hung Window?
A double hung window is a window system with two operable sashes that slide vertically within the frame.
Unlike single hung windows, both the upper and lower sash can move independently, allowing for greater ventilation flexibility and easier cleaning.
Key benefits include:
- Flexible ventilation
- Easy maintenance
- Traditional appearance
- Broad homeowner acceptance
- Compatibility with most residential designs
Because of these advantages, double hung windows remain one of the most popular window styles in North American residential construction.
Why Proper Installation Matters
Even the highest-quality window can underperform if installed incorrectly.
Improper installation may result in:
- Air leakage
- Water infiltration
- Difficult sash operation
- Frame distortion
- Reduced energy efficiency
- Increased warranty claims
According to the U.S. Department of Energy, poorly sealed windows can significantly impact a home’s heating and cooling efficiency. Proper installation helps maximize the performance of modern insulated window systems while reducing long-term maintenance issues.
Tools and Materials Required
Before installation begins, builders should prepare the following tools and materials.
Tools
- Tape measure
- Level
- Framing square
- Utility knife
- Drill/driver
- Caulking gun
- Hammer
Materials
- Flashing tape
- Exterior-grade sealant
- Shims
- Low-expansion spray foam
- Manufacturer-approved fasteners
- Weather-resistant barrier materials
Pre-Installation Inspection Checklist
Before installing the window, verify the following:
| Inspection Item | Requirement |
|---|---|
| Rough Opening Width | Correct size |
| Rough Opening Height | Correct size |
| Opening Square | Diagonal measurements equal |
| Opening Level | Sill is level |
| Opening Plumb | Side jambs are vertical |
| Structural Integrity | No visible damage |
| Flashing Preparation | Complete |
A properly prepared rough opening is one of the most important factors in a successful installation.
Step-by-Step Guide to Installing Double Hung Windows
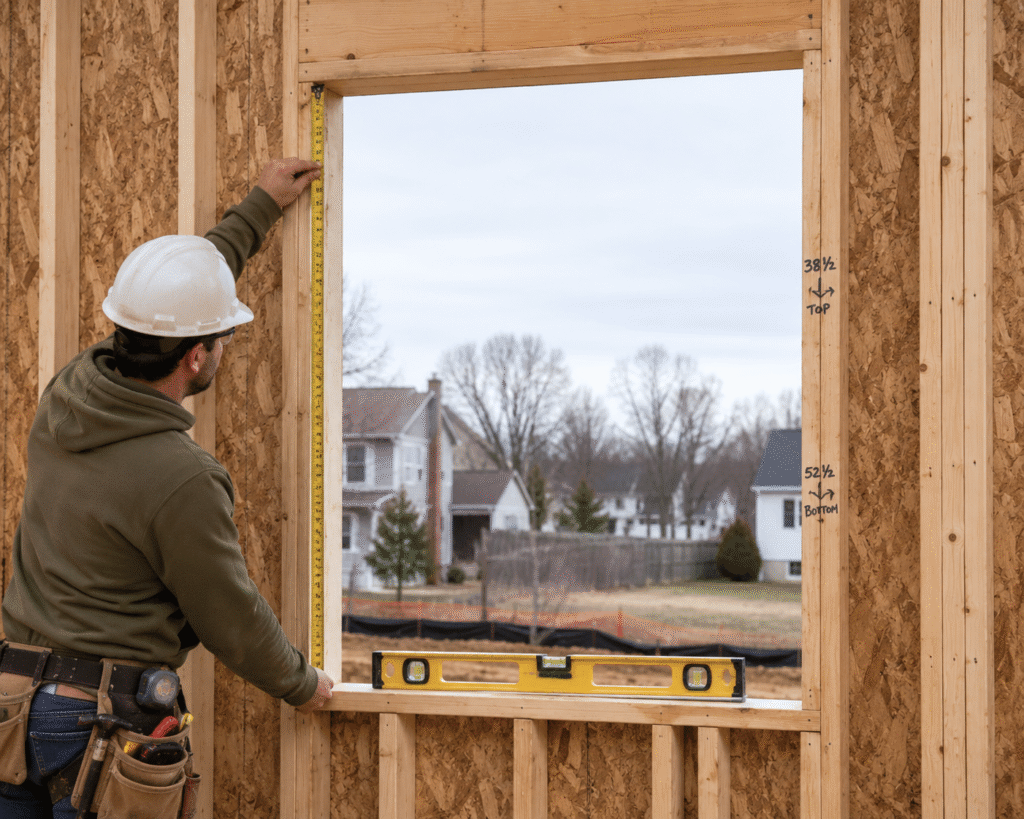
Step 1: Verify Rough Opening Dimensions
Measure the rough opening carefully before installation.
The opening should be slightly larger than the window frame to allow room for:
- Shimming
- Leveling
- Adjustment
Always follow the manufacturer’s recommended rough opening dimensions.
Check:
- Width
- Height
- Diagonal measurements
- Squareness
An improperly sized opening can lead to performance issues later.
Step 2: Install Sill Flashing
Apply flashing tape across the sill and up both jambs according to manufacturer recommendations.
Sill flashing serves as the first layer of protection against water intrusion.
Proper flashing helps direct moisture away from the building envelope and reduces the risk of future water damage.
Step 3: Apply Exterior Sealant
Apply a continuous bead of approved exterior sealant around the perimeter of the opening where specified.
Avoid applying excessive sealant that could interfere with drainage pathways.
Proper sealing improves:
- Weather resistance
- Air sealing
- Long-term durability
Step 4: Position the Window
Carefully place the double hung window into the rough opening.
Verify that the window:
- Is centered within the opening
- Sits properly on the sill
- Maintains consistent reveal spacing
For larger units, additional installers may be required to ensure safe handling.
Step 5: Shim and Level the Window
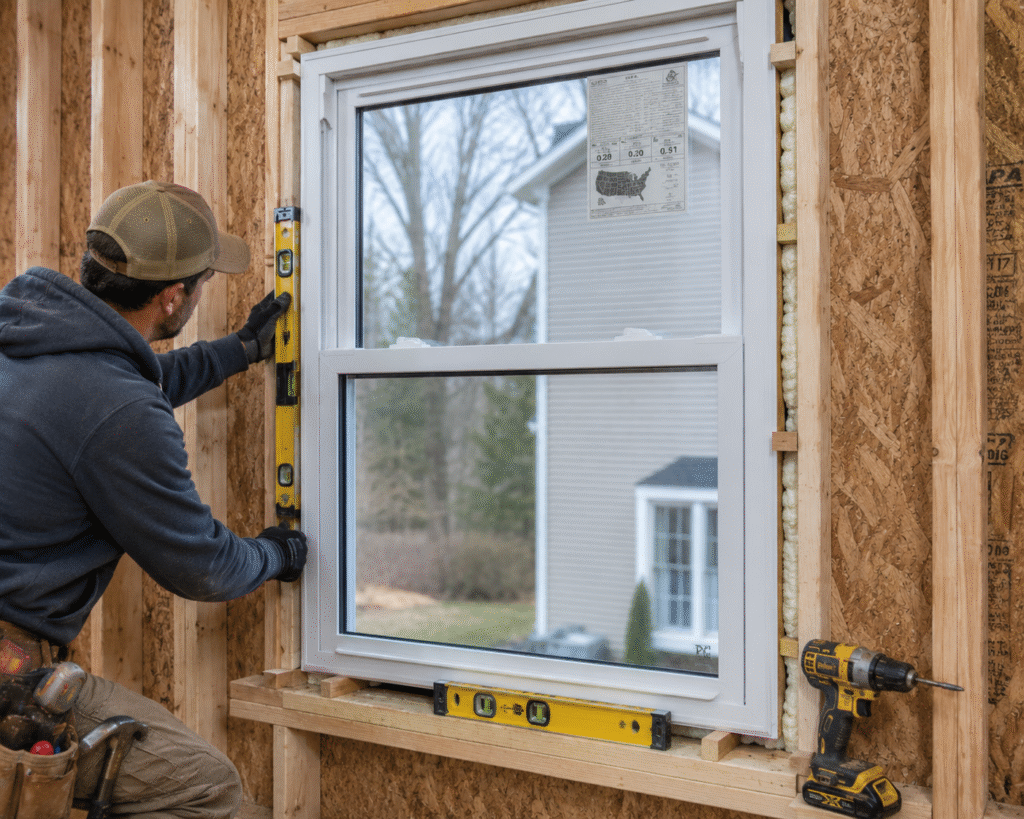
Proper shimming is essential for long-term performance.
Place shims at:
- Sill corners
- Jamb fastening points
- Meeting rail locations
Check that the window is:
- Level
- Plumb
- Square
Improper shimming can result in:
- Binding sashes
- Air leakage
- Frame distortion
- Operational problems
Step 6: Secure the Window
Fasten the window according to the manufacturer’s installation instructions.
Do not over-tighten fasteners.
Excessive pressure can:
- Distort the frame
- Affect sash movement
- Reduce weather sealing performance
After fastening, open and close both sashes to verify smooth operation.
Step 7: Install Side and Head Flashing
Apply flashing tape in the proper sequence:
- Side jamb flashing
- Head flashing
This sequence creates an effective drainage path and helps prevent water penetration.
Proper flashing becomes especially important in areas exposed to heavy rainfall or severe weather.
Step 8: Insulate Around the Window
Fill the gap between the window frame and rough opening using:
- Low-expansion spray foam
- Fiberglass insulation where permitted
Avoid high-expansion foam products.
Excessive expansion pressure can distort the frame and negatively affect window operation.
Step 9: Complete Interior and Exterior Sealing
Apply final sealant where required and inspect all joints.
Verify:
- Exterior sealing
- Interior sealing
- Drainage paths
- Weather barrier continuity
Proper sealing helps improve energy efficiency while maintaining moisture management.
Common Installation Mistakes
Incorrect Rough Opening Dimensions
Installing a window into an improperly sized opening often causes alignment and performance issues.
Insufficient Flashing
Poor flashing remains one of the leading causes of window-related water infiltration.
Over-Tightening Fasteners
Excessive fastening pressure can warp the frame and interfere with proper sash operation.
Improper Shimming
Insufficient support can create air leakage, binding, and uneven operation.
Using High-Expansion Foam
Over-expansion can permanently distort the window frame.
Professional Installation Tips
Based on our experience supplying windows for residential projects, many installation problems originate from improper opening preparation rather than the window itself.
Builders should always verify rough opening dimensions before installation begins and follow manufacturer fastening requirements carefully. Flashing details deserve special attention, as proper water management often has a greater impact on long-term performance than the window product itself.
Before interior trim is installed, operate both sashes multiple times to confirm smooth movement and proper lock alignment. Identifying issues at this stage can help prevent costly service calls and warranty claims after project completion.
Signs of a Properly Installed Double Hung Window
After installation, builders should confirm:
- Smooth sash operation
- Consistent reveal gaps
- Proper lock engagement
- No visible frame distortion
- Effective weather sealing
- No water infiltration points
- Clean, professional appearance
These indicators help verify that the installation meets industry best practices.
Conclusion
Installing double hung windows correctly is essential for achieving long-term energy efficiency, weather resistance, and homeowner satisfaction. While the process itself is relatively straightforward, details such as flashing, leveling, shimming, fastening, insulation, and sealing have a significant impact on overall window performance.
For builders, investing time in proper installation practices helps reduce warranty claims, minimize callbacks, and improve the overall quality of residential projects. By following manufacturer recommendations and proven industry practices, double hung windows can provide reliable performance and lasting value for years to come.